This is the last day of the Celebrate Hand Quilting spring blog hop and since I put my hand up to do a post, I've been racking my brain thinking about what I should talk about. Then it came to me, why not chat about how I choose my quilting designs.
I could talk about that subject for a long time so I decided to break it up into separate posts starting with big stitch quilting.

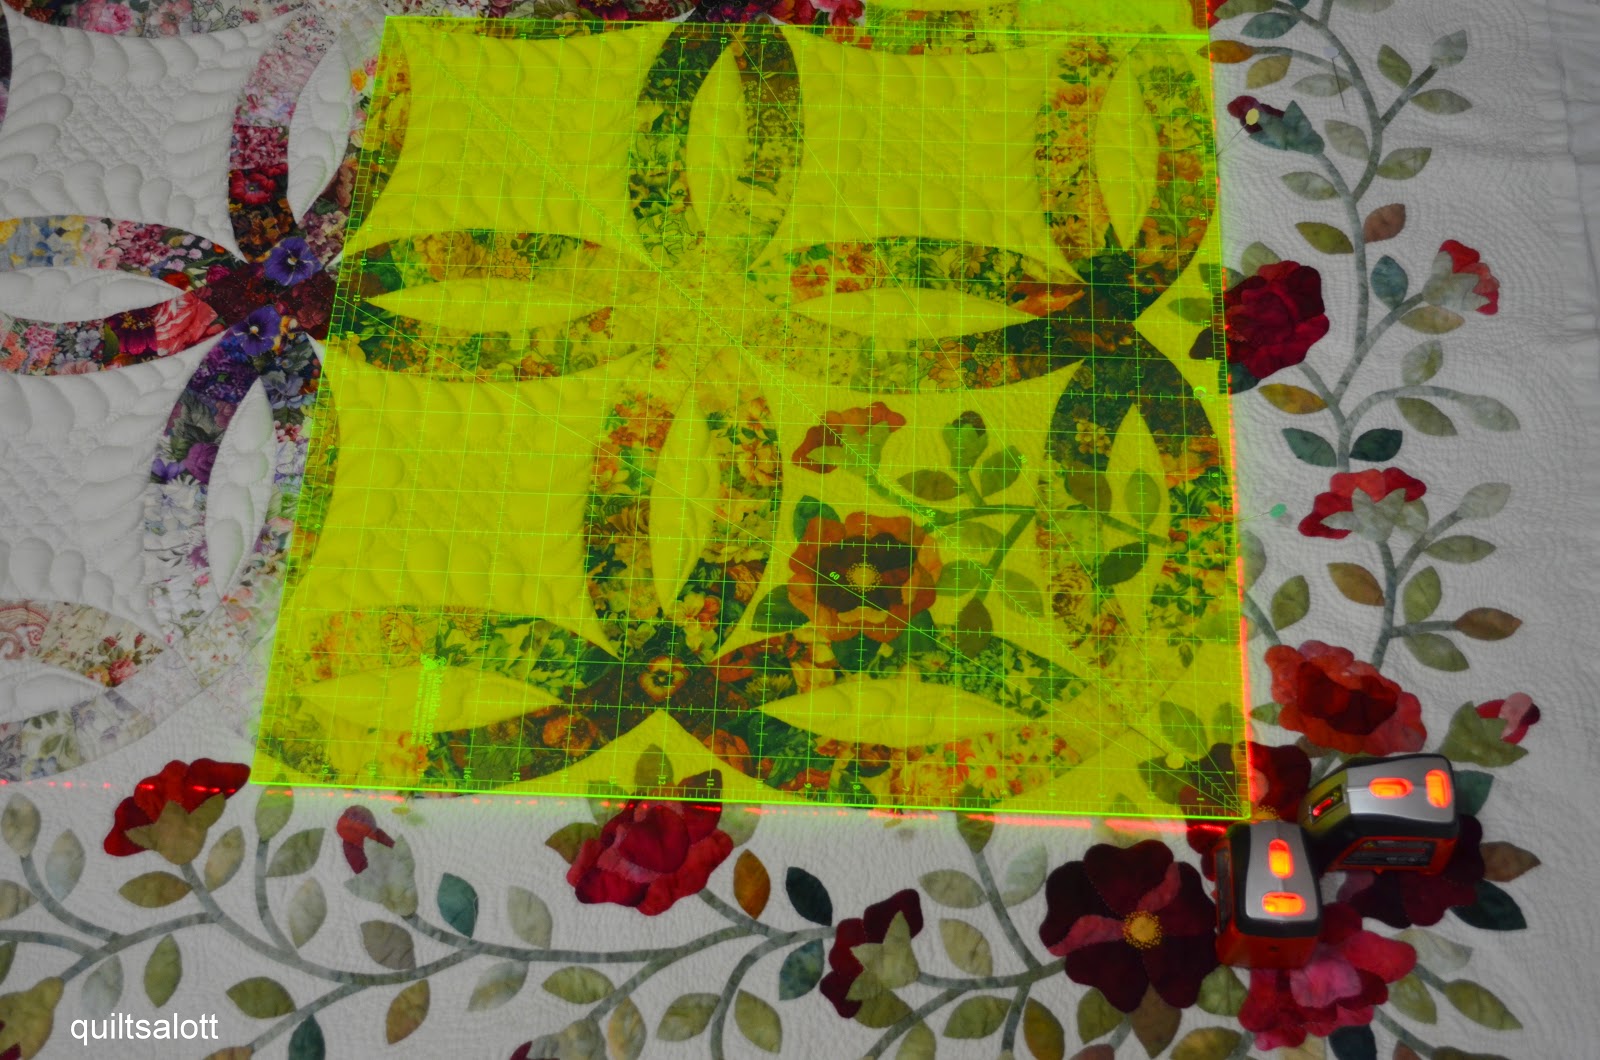
I like to think about how I'm going to quilt a top during the making of it so I almost always have a plan by the time it's basted. This one was easy enough when it came to the blocks but the space between each block was a head scratcher. I used Perle # 8 in white and yellow with a # 5 embroidery needle.
The blocks are quilted in the ditch to hold the coloured patches down and the centers are just radiating lines. I finally hit on the idea to fill the negative space between the blocks with a motif I drew up.
Motifs can be found in all sorts of places, look at your quilting stencils and just use parts of them or take photos of quilts at shows or off the Internet for studying later and getting some ideas. I have a few quilting books that provide some inspiration.

Even though this one is queen sized, it took very little time to quilt. The quilting is a simple cross hatch across each square. I tackled it by zig zagging vertically across the rows of squares, first one way then the other which is what made it go so fast.

The borders are often the part that I plan the quilting for last, especially if the fabric is busy like this spot. It doesn't much matter what one does, the quilting isn't going to be a feature. In the end I chose a simple baptist fan which was a good contrast with all the geometric shapes in the quilt.


It didn't need anything fancy but it is important to distribute the quilting evenly throughout the quilt. Too often I see quilts that have very little stitching on the borders which says to me that the quilter ran out of steam. Those quilts are often the friendly ones that wave a fair bit on the outside and look unfinished.
I had another busy fabric on this border and opted for interlocking circles that mirrored the circular patchwork. Another good option would have been to do piano lines which would have been a good contrast to the round shapes.


In the quilt below, I did another very fast but fun design of all circles. I used plates, cups and egg cups to draw the circles. They were all placed randomly, some interlocking and some smaller shapes inside larger ones. This is what I'd call an all over pattern and is a good standby for scrappy quilts. The threads I used are different colours of sashiko thread and even managed a larger stitch than what I'd used previously.

It's normal for the stitches on the back to be smaller than the front, this isn't fine hand quilting after all.


If I were doing this quilt again, I'd up the size of the stitches but back in the day it was hard to go big for me, I think I've gotten over that now though.

There are no size guidelines for using big stitches with a thicker thread. It's what you feel comfortable with and whether or not they'd be toe catchers. I think I do smaller than a lot of people but then again, I've seen this size of stitch done with a Perle cotton # 12 for a more elegant look.
This is a great technique for beginning hand quilters, it's easy to master and the bonus is that a quilt can be finished sooner. I love the relaxed look and it's been perfect for utility quilts, scrap quilts and quilts for the kids because they turn out soft and cuddly.
If you'd like to see Perle quilting in action, click on this YouTube link to see Sarah Fielke demonstrating how to do it.


.jpeg)


